


Hey guys, what’s shaking?
As you know, I like plugins and controls for Xamarin.Forms. Besides solving difficulties in some implementations, we always teach cool things about new implementations. These days to make a POC, I ended up finding a cool control that is capable of creating that overflow effect on the screen, that effect that we see in the AppleStore, as shown below:

https://raw.githubusercontent.com/nor0x/OverFlower/main/imgs/appstore.gif
This control is OverFlower, and let’s see how to implement it.
Let’s go?
Configuring the Control

Let’s go to our dear Nuget and install the OverFlower package in our shared project:
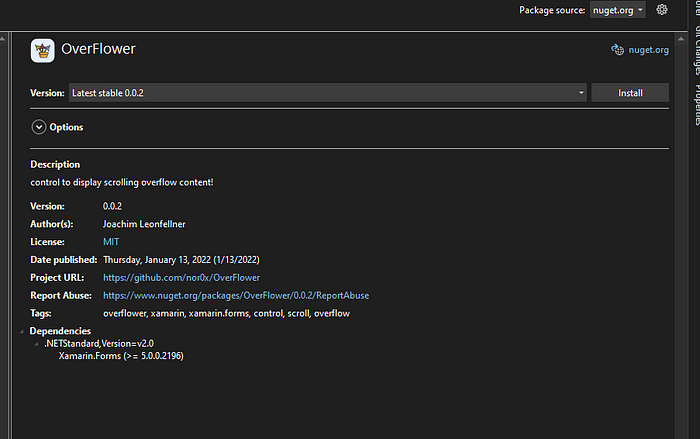
Very simple, and you don’t need to configure anything else.
Using the Control
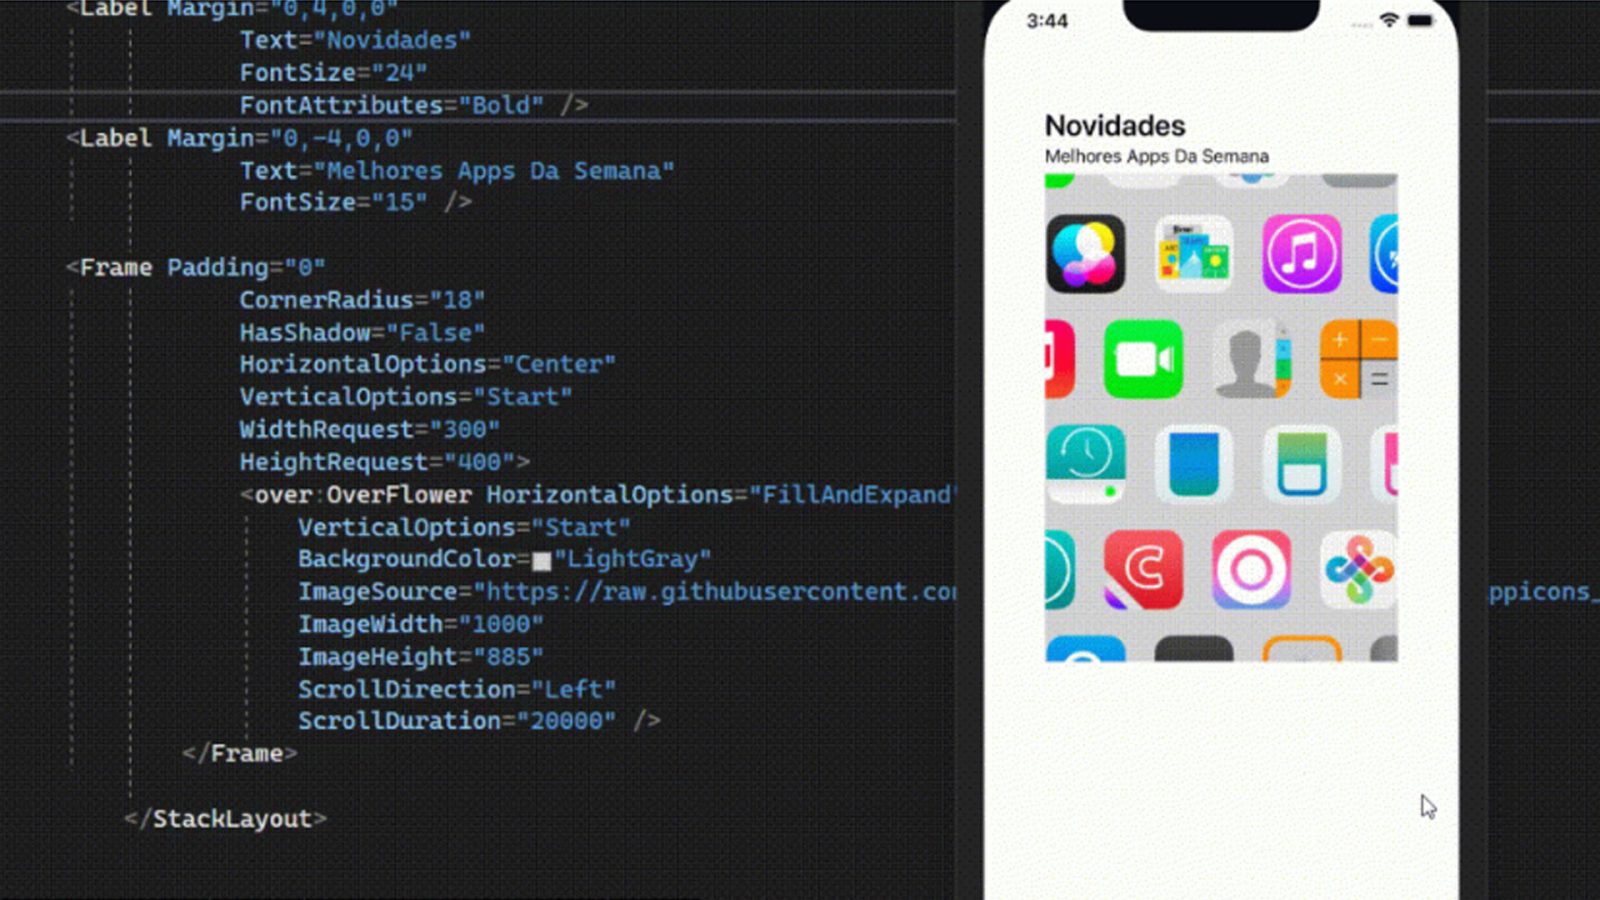
To use the control, add the namespace xmlns:over=”clr-namespace:OverFlower;assembly=OverFlower”, then, create a simple screen using online resources:
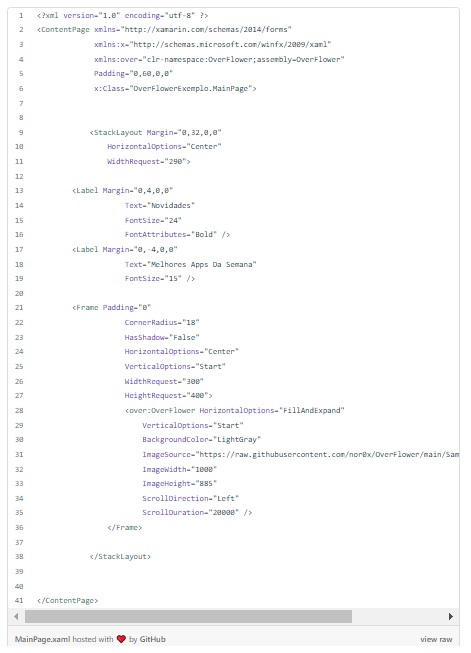
Perfect! The cool thing about the control is that it allows us to configure properties:
-> BackgroundColor= Background Color
-> ImageSource= Any Image source
-> ImageWidth= Largura da Imagem
-> ImageHeight= Image Height
-> ScrollDirection= Which way the scroll will scroll (Left, Right, Up, or Down)
-> ScrollDuration= Scroll Effect Duration
Now let’s run:
Simple and cool, you can use it in your app for an important image or highlight ?
If you want, you can download the example by clicking here.
Hope this helps!
All the best!


Leave a comment